


Troubleshooting and Resolving P26E9 Actuator Supply Voltage Short to Battery: A Comprehensive Guide

A. Brief Overview of OBD-II Trouble Code P26E9
OBD-II trouble code P26E9 is a diagnostic trouble code (DTC) that specifically relates to the actuator supply voltage being shorted to the battery. This code is a part of the On-Board Diagnostics system, providing valuable insights into the health of a vehicle’s various components.
B. Importance of Addressing Actuator Supply Voltage Issues
Addressing actuator supply voltage issues is crucial for maintaining optimal performance and efficiency in a vehicle. The actuator plays a vital role in the proper functioning of numerous systems, and any disruptions in its voltage supply can lead to serious consequences, affecting both the vehicle’s performance and fuel efficiency.
C. Purpose of the Article
The purpose of this article is to provide a comprehensive understanding of the OBD-II trouble code P26E9 and its implications on the actuator supply voltage. We will delve into the possible causes behind this trouble code, its symptoms, and most importantly, the steps to diagnose and rectify the issue. By the end of the article, readers should gain valuable insights into troubleshooting and resolving actuator supply voltage short to battery problems.
Understanding OBD-II Trouble Code P26E9
1. Definition and Description of P26E9
OBD-II trouble code P26E9 specifically points to a situation where the actuator supply voltage is shorted to the battery. This code is a standardized system used by vehicle manufacturers to diagnose issues and communicate them to vehicle service technicians. In the case of P26E9, it alerts technicians to a potential problem with the actuator’s power supply, emphasizing the need for investigation and resolution.
2. Symptoms Indicative of Actuator Supply Voltage Short to Battery
Recognizing symptoms associated with this trouble code is crucial for early detection and intervention. Common signs of an actuator supply voltage short to the battery may include erratic engine behavior, reduced power output, and increased fuel consumption. Additionally, warning lights on the dashboard, such as the Check Engine Light, may illuminate, signaling the need for immediate attention.
3. Possible Causes of the Trouble Code
To effectively address the P26E9 trouble code, it’s essential to understand the potential causes behind the actuator supply voltage short to the battery. Common culprits include damaged wiring, faulty connectors, or issues within the actuator itself. Environmental factors such as moisture and corrosion can also contribute to the problem. This section will explore these causes in detail, providing readers with a comprehensive overview of what might lead to the occurrence of this trouble code.
Diagnostic Procedures
A. On-Board Diagnostics (OBD) System Overview
Before diving into specific diagnostic procedures, it’s crucial to have a foundational understanding of the On-Board Diagnostics (OBD) system. OBD plays a key role in monitoring and reporting issues related to a vehicle’s performance. This section will provide an overview of how the OBD system works and its significance in identifying trouble codes such as P26E9.
B. Utilizing Diagnostic Tools to Retrieve P26E9 Code
Effective diagnosis begins with the use of diagnostic tools that can retrieve trouble codes stored in a vehicle’s OBD system. This part of the article will guide readers on the proper use of diagnostic scanners or code readers to extract the P26E9 code. Understanding how to navigate through the diagnostic process is essential for accurate identification of the issue and subsequent resolution.
C. Interpreting Freeze Frame Data for Additional Insight
In addition to extracting the trouble code, Freeze Frame data provides valuable information about the conditions surrounding the moment the P26E9 code was triggered. This section will explore how to interpret Freeze Frame data, including parameters such as engine load, vehicle speed, and coolant temperature. Analyzing this information can offer additional insights into the root cause of the actuator supply voltage short to the battery, facilitating a more precise diagnosis.
Common Culprits Behind Actuator Supply Voltage Short to Battery
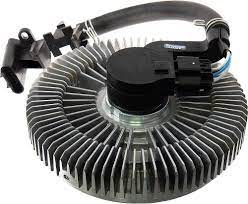
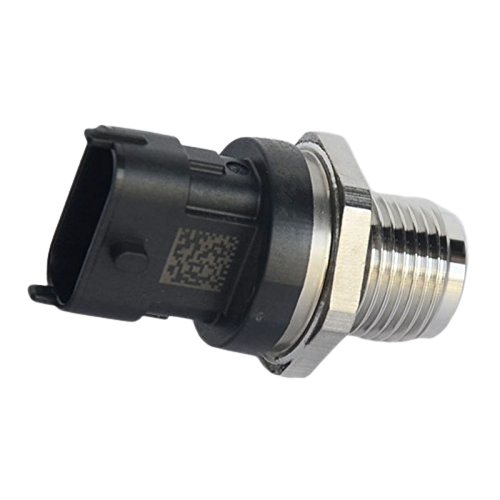
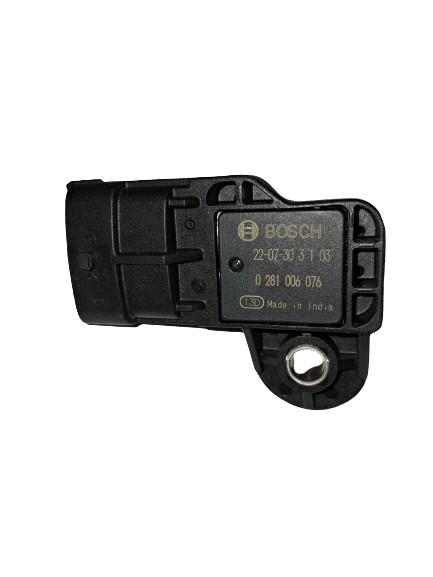
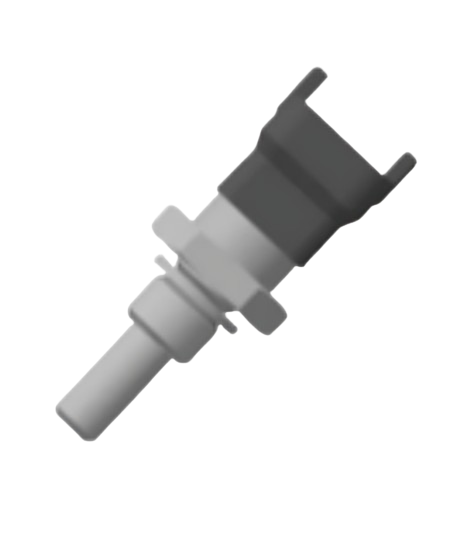
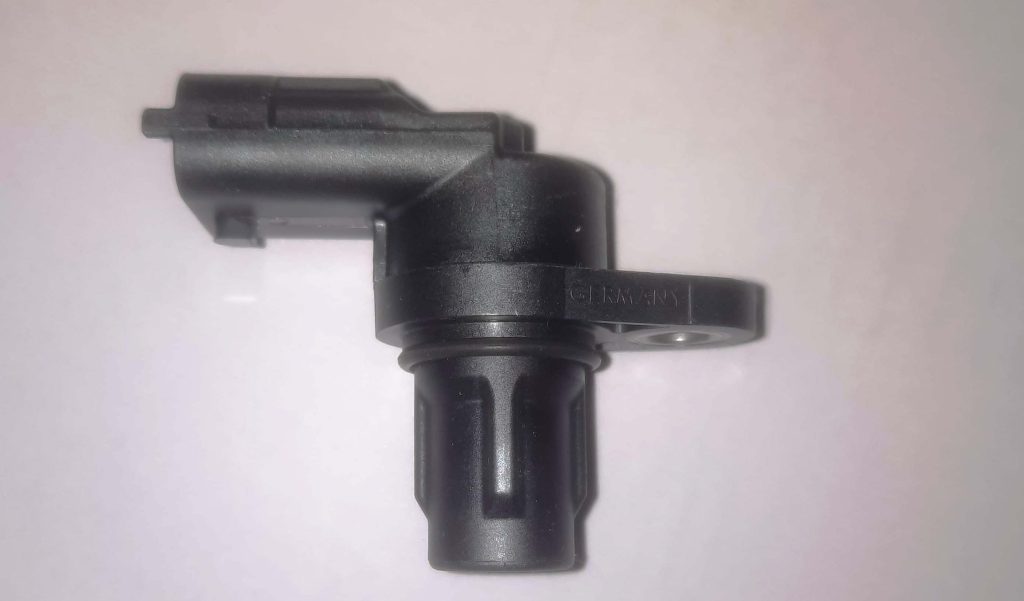
A. Faulty Actuator or Solenoid
One of the primary culprits behind the P26E9 trouble code is a malfunctioning actuator or solenoid. These components play a pivotal role in various systems within the vehicle, and any faults in their operation can lead to a short in the supply voltage. This section will delve into the signs of a faulty actuator or solenoid and the steps to verify their condition.
B. Wiring and Connector Issues
Damaged or corroded wiring, as well as faulty connectors, can disrupt the smooth flow of voltage to the actuator. This part of the article will explore the potential issues related to wiring and connectors, guiding readers on how to inspect and address these problems effectively.
C. Battery-related Problems
Issues with the vehicle’s battery can contribute to the actuator supply voltage short to the battery. Whether it’s a weak battery, loose connections, or other battery-related issues, this section will outline the steps to assess and rectify problems originating from the battery.
D. ECM/PCM Malfunction
The Engine Control Module (ECM) or Powertrain Control Module (PCM) is the brain of the vehicle’s electronic control system. A malfunction in these modules can disrupt the proper functioning of various components, including the actuator. This part of the article will discuss symptoms of ECM/PCM malfunction, diagnostic procedures, and potential solutions.
Identifying and addressing these common culprits is crucial for resolving the P26E9 trouble code effectively, restoring the actuator supply voltage to its optimal levels.
Step-by-Step Troubleshooting Process
Visual Inspection of Actuator Components and Wiring
- Inspect Actuator Components: Begin by visually examining the actuator and associated components. Look for signs of damage, wear, or corrosion. Address any visible issues promptly.
- Examine Wiring: Thoroughly inspect the wiring connected to the actuator. Check for frayed wires, loose connections, or signs of wear. Address any issues found during the visual inspection.
Testing Actuator Resistance and Voltage
- Disconnect Actuator: Safely disconnect the actuator from the vehicle’s electrical system.
- Resistance Testing: Use a multimeter to measure the resistance across the actuator terminals. Compare the readings with the manufacturer’s specifications to ensure the actuator’s integrity.
- Voltage Testing: Reconnect the actuator and use the multimeter to measure the voltage at the actuator terminals. Ensure that the voltage matches the specified range. Deviations may indicate issues with the power supply.
Checking Battery Voltage and Connections
- Test Battery Voltage: Measure the voltage of the vehicle’s battery using a multimeter. Ensure that the battery voltage is within the acceptable range. Charge or replace the battery if necessary.
- Inspect Battery Connections: Examine the battery terminals for corrosion or loose connections. Clean terminals and tighten connections to guarantee a secure electrical connection.
Utilizing Multimeter for Comprehensive Electrical Testing
- Overall Electrical System Check: Conduct a systematic electrical system check using a multimeter. Test relevant circuits, fuses, and relays associated with the actuator supply voltage. Identify and address any abnormalities detected during the testing process.
- ECM/PCM Testing: If previous steps do not reveal the root cause, conduct tests on the Engine Control Module (ECM) or Powertrain Control Module (PCM). Follow manufacturer guidelines for diagnosing and addressing potential malfunctions in these critical control modules.
By following these step-by-step troubleshooting procedures, you can systematically identify and address issues related to the actuator supply voltage, helping to resolve the P26E9 trouble code and restore the optimal functionality of your vehicle.
Advanced Diagnostic Techniques
Using Advanced Scanning Tools for In-depth Analysis
- Advanced OBD Scanners: Invest in advanced OBD scanners that provide enhanced capabilities beyond basic code reading. These tools may offer real-time data, advanced system analysis, and component-specific diagnostics to pinpoint the exact nature of issues related to the actuator supply voltage.
- Live Data Analysis: Utilize the live data feature of advanced scanning tools to monitor real-time parameters associated with the actuator and its voltage supply. Analyze data such as sensor readings, fuel trims, and system statuses to identify irregularities.
Conducting Voltage Drop Tests
- Voltage Drop Basics: Voltage drop tests help identify areas of excessive resistance in the electrical circuit. Apply this technique to specific components like wiring harnesses and connectors associated with the actuator supply voltage.
- Procedure: With the circuit energized, measure the voltage drop across critical points (e.g., connectors, switches, and wires). An elevated voltage drop indicates resistance, enabling a more precise localization of the issue within the circuit.
Employing Oscilloscopes for Signal Analysis
- Oscilloscope Applications: Oscilloscopes provide a graphical representation of electrical signals, offering valuable insights into waveforms and signal integrity. Use oscilloscopes to analyze the voltage and signal patterns associated with the actuator supply voltage.
- Signal Stability Analysis: Evaluate the stability and integrity of the voltage signal using an oscilloscope. This advanced diagnostic tool can reveal anomalies such as voltage spikes, irregular waveforms, or signal interruptions that may not be apparent through conventional testing.
These advanced diagnostic techniques go beyond basic troubleshooting, offering a more comprehensive and detailed analysis of the actuator supply voltage issues. By incorporating these methods into your diagnostic process, you can achieve a higher level of precision in identifying and resolving the root causes of the P26E9 trouble code.
Repair and Resolution
A. Actuator Replacement or Repair
- Diagnostic Confirmation: Based on the troubleshooting results, determine whether the actuator is indeed faulty. If resistance or voltage testing indicates issues, consider replacing or repairing the actuator.
- Replacement Procedure: If replacement is necessary, follow the manufacturer’s guidelines for removing the old actuator and installing the new one. Ensure proper calibration and alignment to guarantee optimal performance.
B. Addressing Wiring and Connector Issues
- Repair or Replace Damaged Wiring: If wiring issues were identified during the diagnostic process, repair or replace damaged sections. Use quality replacement parts and secure connections to prevent future problems.
- Connector Inspection: Clean and inspect connectors for corrosion or damage. Apply dielectric grease to maintain a protective barrier against moisture. Ensure secure and tight connections to eliminate potential voltage drop.
C. Battery Maintenance and Replacement
- Charging and Testing: If battery-related problems were identified, charge the battery and retest its voltage. If the battery fails to hold a charge or exhibits other issues, consider replacing it with a new, fully charged battery.
- Connection Checks: Verify that battery terminals are clean, free of corrosion, and securely connected. Use a battery terminal brush to clean any corrosion and ensure a solid electrical connection.
D. ECM/PCM Repair or Replacement
- Confirm ECM/PCM Issues: If advanced diagnostics point to a malfunctioning ECM/PCM, follow the manufacturer’s procedures to confirm the problem. Consult with a professional technician if necessary.
- Repair or Replace: Depending on the severity of the ECM/PCM issue, consider repairing or replacing the module. Reprogramming may be necessary after replacement to ensure compatibility with the vehicle’s systems.
By systematically addressing each potential cause identified during the diagnostic process, you can effectively repair and resolve the issues associated with the actuator supply voltage short to the battery (P26E9). Following proper procedures and using quality replacement parts will contribute to a reliable and long-lasting solution, restoring your vehicle to optimal functionality.
Clearing the P26E9 Code
A. Clearing Codes with OBD-II Scanner
- Ensure Repairs are Complete: Before clearing any trouble codes, verify that you have successfully addressed the underlying issues related to the actuator supply voltage short to the battery (P26E9). All repairs, replacements, and maintenance tasks should be completed.
- Connect OBD-II Scanner: Use an OBD-II scanner with code-clearing capabilities. Connect the scanner to the vehicle’s OBD-II port, usually located beneath the dashboard near the driver’s seat.
- Navigate to Clear Codes Option: Follow the scanner’s on-screen prompts to access the “Clear Codes” or “Erase Codes” option. This step may vary slightly depending on the specific model of the scanner.
- Confirm Code Clearance: Confirm your intention to clear the trouble codes. Be aware that clearing the codes will also reset the vehicle’s readiness monitors.
B. Verifying Repairs and Confirming Resolution
- Perform System Checks: After clearing the P26E9 code, conduct a series of system checks using the OBD-II scanner. Ensure that no new trouble codes have emerged, indicating successful resolution of the actuator supply voltage issue.
- Monitor Live Data: Use the scanner’s live data feature to monitor relevant parameters associated with the actuator and its voltage supply. Check for stable readings within normal ranges.
- Test Drive: Take the vehicle for a test drive to assess its overall performance. Pay attention to any signs of irregularities, such as warning lights or unusual engine behavior. If everything appears normal, it suggests successful resolution.
- Recheck for Codes: Periodically recheck for trouble codes in the following days to confirm that the P26E9 code does not reappear. Continuous monitoring is essential to ensure a long-term fix.
By clearing the P26E9 trouble code only after completing the necessary repairs and confirming the resolution, you ensure that the underlying issues have been addressed. Regular follow-up checks and monitoring will help maintain the health of the actuator supply voltage system and prevent the recurrence of similar problems.
Preventive Measures
A. Regular Maintenance to Avoid Actuator and Wiring Issues
- Scheduled Inspections: Implement a routine inspection schedule for the actuator and associated wiring. Regularly check for signs of wear, corrosion, or damage. Promptly address any issues to prevent them from escalating.
- Protective Measures: Consider applying protective coatings or wraps to vulnerable wiring areas, especially those exposed to the elements. This can help shield the wiring from environmental factors that may contribute to deterioration.
B. Monitoring Battery Health
- Scheduled Battery Checks: Include battery health checks as part of your routine maintenance. Test the battery voltage and inspect for any signs of corrosion on the terminals. Address low voltage or connection issues promptly.
- Replacement Schedule: Batteries have a limited lifespan. Plan for battery replacements at regular intervals, even if they appear to be functioning well. This proactive approach can prevent unexpected failures.
C. Periodic OBD-II Scans for Early Detection of Potential Problems
- Regular Scanning: Incorporate periodic OBD-II scans into your vehicle maintenance routine. These scans can detect trouble codes, including potential issues with the actuator supply voltage, before they escalate into major problems.
- Address Detected Codes Promptly: If the OBD-II scan reveals any trouble codes, address them promptly. Early intervention can prevent further damage and potentially save on repair costs.
- Software Updates: Ensure that your vehicle’s ECM/PCM software is up-to-date. Manufacturers release software updates to address known issues and enhance overall system performance.
By adopting these preventive measures, you can minimize the risk of actuator supply voltage issues, reduce the likelihood of trouble codes like P26E9, and extend the overall lifespan and reliability of your vehicle’s electrical systems. Regular maintenance and vigilance contribute to a proactive approach to vehicle care.
Conclusion
A. Summary of Key Points
In summary, understanding and addressing the OBD-II trouble code P26E9, indicating an actuator supply voltage short to the battery, involves a systematic approach. Key points discussed include the definition of the trouble code, common culprits behind the issue, diagnostic procedures, advanced techniques for analysis, and the step-by-step troubleshooting process. The article also delved into repair and resolution methods, clearing the trouble code, and preventive measures for maintaining the health of the actuator supply voltage system.
B. Importance of Timely and Accurate Diagnosis
Timely and accurate diagnosis of OBD-II trouble codes, such as P26E9, is crucial for maintaining the optimal performance of a vehicle. Ignoring or delaying the resolution of such codes can lead to more severe issues, affecting not only the actuator but also other components within the vehicle’s electrical system. The diagnostic process, involving visual inspections, advanced scanning tools, and voltage drop tests, provides the necessary insights for effective and precise repairs.
C. Encouraging Regular Vehicle Maintenance for OBD-II System Health
Regular vehicle maintenance plays a pivotal role in preventing and addressing issues related to the actuator supply voltage and other OBD-II trouble codes. Performing scheduled inspections, monitoring battery health, and conducting periodic OBD-II scans contribute to the early detection of potential problems. By adopting a proactive approach to vehicle care, drivers can avoid unexpected breakdowns, reduce repair costs, and extend the longevity of their vehicles.
In conclusion, staying vigilant, adhering to a routine maintenance schedule, and addressing issues promptly contribute to a healthy OBD-II system and overall vehicle reliability. The knowledge gained from understanding and resolving trouble codes like P26E9 empowers vehicle owners and technicians to keep their vehicles running smoothly.